Monday, March 23, 2015

Snickers Cake

I went to a cake auction fundraiser this past Friday and I signed up to bring a cake. Last year I went to this fundraiser and I brought a cake but I went for looks. I brought a beach themed cake with what looked like water and sand on top. Then I had teddy grahams lying out on fruit by the foot and teddy grahams in inner tubes (watermelon rings.) Then I had palm trees and little drink umbrellas on the side. It turned out pretty awesome.

This year I wanted to make more of an adult cake. I decided to make a snickers cake. I used the recipe from Brown Eyed Baker to make this cake. The only thing I changed was the chocolate cake recipe. I used a simple chocolate cake recipe from Nellie Bellie.


Ingredients for the chocolate cake:

  1. 3/4 cup soft butter
  2. 3 eggs at room temperature
  3. 2 c. all-purpose flour
  4. 3/4 cup cocoa
  5. 1 tsp baking soda
  6. 3/4 tsp baking powder
  7. 1/2 tsp salt
  8. 2 cup sugar
  9. 2 tsp vanilla
  10. 1 1/2 cup milk
 
Directions:
  1. Using three 8 inch pans, grease bottom of pans. preheat oven to 350 degrees
  2. Beat butter for 30 seconds or so. slowly add sugar.
  3. Add eggs 1 at a time beating after each one. Beat in vanilla.
  4. Add dry ingredients beating after each addition.
  5. Add 1/2 of the milk, beat. Then add the other 1/2. Beat just until everything is combined nicely.
  6. Spread batter evenly into pans.
  7. Bake for 30-35 minutes for round pans. Watch it though! a knife coming out clean from the center means it is done.
 
Now the snickers part of the cake:
 
There are four main parts
 
First,
The Nougat Filling
Ingredients:
4 tablespoons unsalted butter
1 cup granulated sugar
¼ cup evaporated milk
1½ cups marshmallow fluff
¼ cup creamy peanut butter
1 teaspoon vanilla extract
1½ cups salted peanuts, roughly chopped
 
Directions:
Melt the butter in a medium saucepan over medium heat. Add the sugar and evaporated milk, stirring until dissolved, and bring to a boil. Reduce the heat to low and cook for 5 minutes, stirring occasionally. Remove the pan from heat and add the marshmallow fluff, peanut butter, and vanilla extract, stirring until completely smooth. Fold in the peanuts. Let the nougat mixture cool to room temperature before using it in the cake. You can do this leaving it at room temperature or you can pop it into the refrigerator to speed up the process. Be sure to give a stir occasionally as it cools.
 I think this nougat filling is what makes this cake taste so good. I ate a couple spoonfuls out of the pan.
 
Second,
Salted Caramel Buttercream Frosting
Ingredients:
½ cup unsalted butter, at room temperature
4 ounces cream cheese, at room temperature
¼ cup salted caramel sauce
2 cups powdered sugar
 
Directions:
Beat together the butter and cream cheese on medium-high speed for 5 minutes. Pour in the salted caramel and beat until combined. Reduce the speed to medium-low and slowly add the powdered sugar, a little at a time, until it has all been incorporated. Increase the speed to medium-high and beat for an additional two to three minutes, until light and fluffy.
 
Third,
Assemble the Cake
 If your cakes baked up uneven or have domed on top, level off the tops. Place one cake layer on a serving plate. Cover with half of the nougat filling and then spread a couple spoonfuls of the salted caramel sauce over top to evenly cover the nougat filling. (When I spread the nougat filling on, I pushed it all the way out to the sides of the cake, but when I put the next layer on, it pushed the nougat filling out and down to the bottom. I would recommend not pushing the nougat filling all the way out to the side. The weight of the layers will push it out to the side.)Top with a second cake layer and cover with the remaining nougat filling and top with caramel sauce. Place the final cake layer on top face-down. Frost the cake with the salted caramel frosting, finishing it as smoothly as possible. Refrigerate the cake for at least 1 hour, until the frosting is set.
 
Fourth,
Chocolate Ganache
Ingredients:
8 ounces milk chocolate, finely chopped
4 ounces (½ cup) heavy cream
 
Directions:
While the cake chills, make the chocolate ganache. Place the chocolate in a medium bowl; set aside. Place the cream in a small saucepan over medium heat and warm until it just comes to a boil. Pour the cream over the chopped chocolate and let sit for 2 minutes. Begin whisking the mixture in the center, gradually working your way outward until the ganache is completely smooth. Set aside to cool, whisking occasionally, until it has thickened slightly, yet still a pourable consistency.
 
Transfer the ganache to a 2-cup measuring cup. Slowly pour the chocolate ganache into the center of the cake, letting it push itself outward and flow over the sides of the cake. Refrigerate the cake for at least 30 minutes, giving the ganache a chance to set up. To finish garnishing, drizzle some additional salted caramel sauce over the top and side of the cake, and top with chopped peanuts. Keep the cake refrigerated, removing it from the refrigerator about 20 minutes prior to serving.


Monday, March 16, 2015

One Pot Garlic Alfredo Pasta

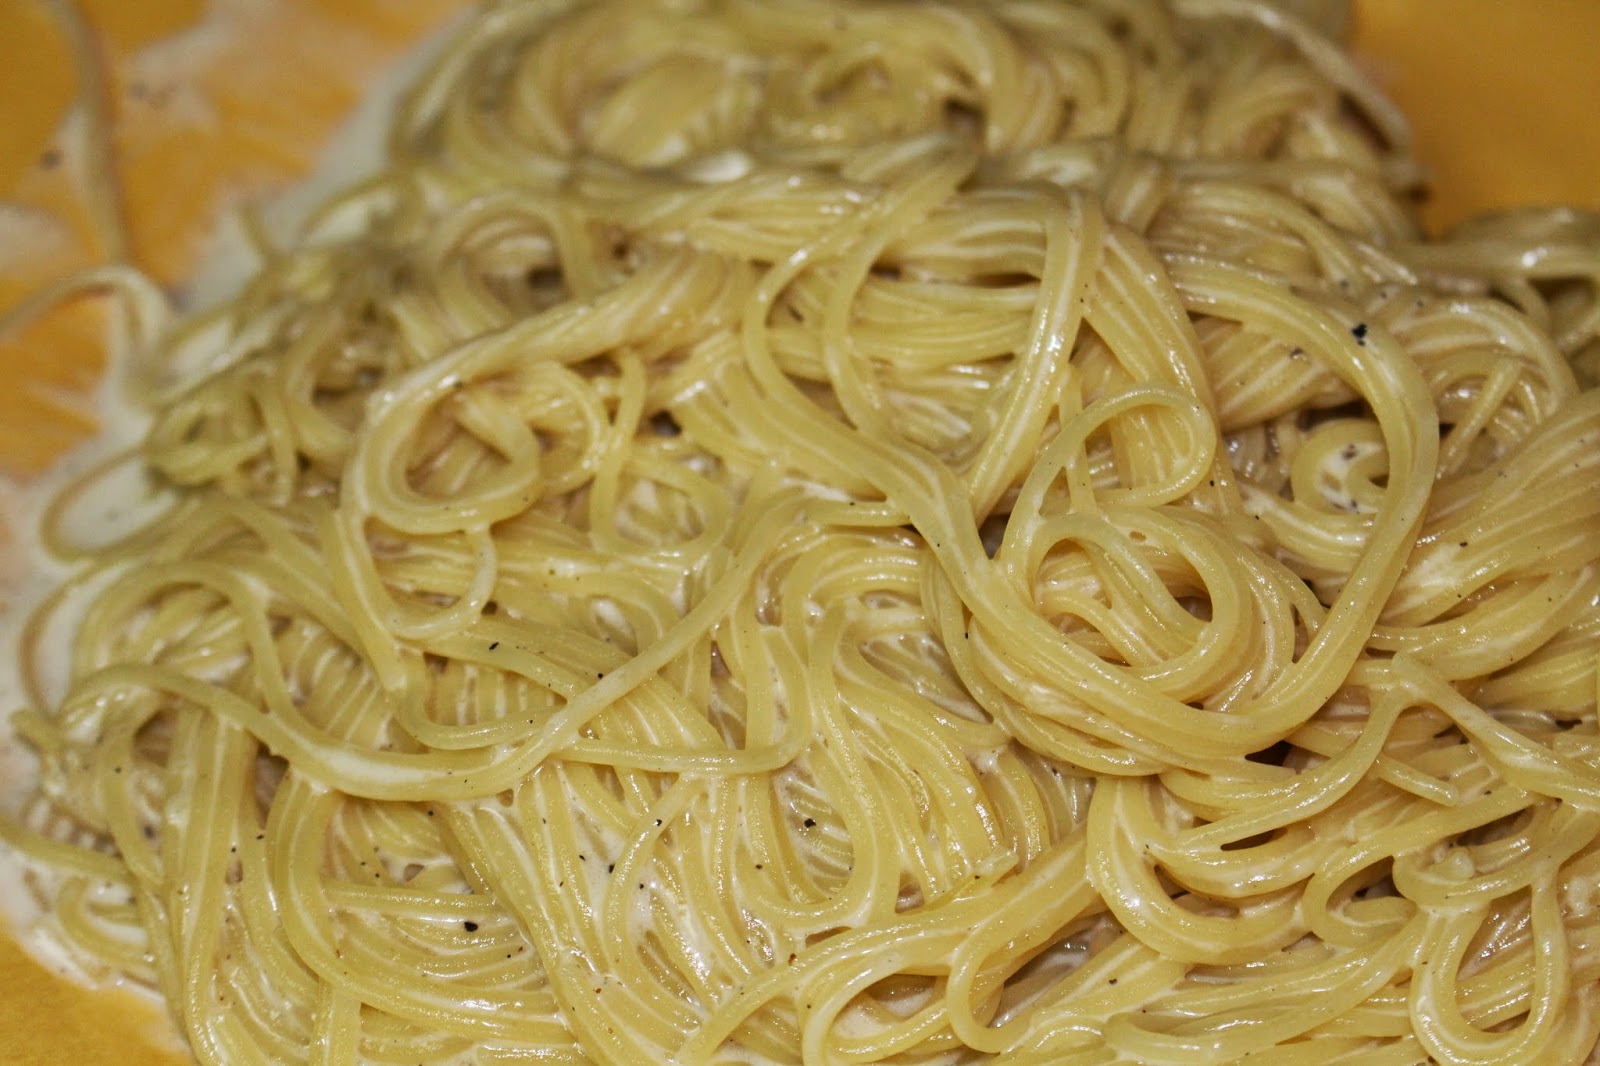
I saw this recipe and to be honest it mostly caught my attention because you could make the whole thing in one pot. How great is that? Even though I have a dishwasher now, I still dread dishes. I have to start dinner in a clean kitchen. All of the dishes have to be done and the counters have to be clean. But somehow, after dinner is ready, the kitchen is a disaster again. The mess never seems to end. This recipe not only keeps your kitchen clean, it is really yummy. My husband liked this better than my homemade alfredo sauce. We've been making this one quite a bit lately. This recipe came from The Cheese Pusher.


Creamy Garlic Pasta

Ingredients:
2 tsp olive oil
4 cloves garlic, minced
2 tbsp butter
¼  tsp salt
½ tsp pepper
3 cups chicken stock
½ lb spaghetti or angel hair pasta
1 cup grated parmesan cheese
¾ cup heavy cream
2 tbsp chopped fresh parsley

Directions:
In a pot, bring the olive oil to medium-low heat. Add the garlic and stir, allowing it to cook for 1-2 minutes. Mix in the butter until melted. Add the salt, pepper and chicken stock. Raise the heat to high and let it come to a boil. 
Once it is at a rolling boil, add the pasta and cook for as long as the box’s directions indicate. Reduce the stove to medium heat and mix in the parmesan until completely melted. Turn off the heat and stir in the cream and parsley. Serve immediately.


It may look a little runny like this at first but in just a few minutes it thickens up.
 

This recipe is the perfect amount for my husband and I. If you are going to make it for more than two people I would double or triple the recipe. 


Wednesday, November 12, 2014

Chow Mein Noodles- Better than Panda Express

When I saw this recipe I was very hesitant about the "Better than Panda Express," expression. But, you better believe it. A couple days after I made this I ate at Panda Express and their chow mein was not nearly as good. I've made this a couple of times already. It is really easy to whip up on a busy night. Thanks Damn Delicious for the recipe.

Ingredients:
  • 1/4 cup soy sauce
  • 3 cloves garlic, minced
  • 1 tablespoon brown sugar, packed
  • 2 teaspoons freshly grated ginger
  • 1/4 teaspoon white pepper
  • 2 (5.6-ounce) packages refrigerated Yaki-Soba, seasoning sauce packets discarded*
  • 2 tablespoons olive oil
  • 1 onion, diced
  • 3 stalks celery, sliced diagonally
  • 2 cups shredded cabbage- (this was about 1/4 head of cabbage)

 Directions:
  • In a small bowl, whisk together soy sauce, garlic, brown sugar, ginger and white pepper; set aside.
  • In a large pot of boiling water, add Yaki-Soba until loosened, about 1-2 minutes; drain well.
  • Heat olive oil in a large skillet over medium high heat. Add onion and celery, and cook, stirring often, until tender, about 3-4 minutes. Stir in cabbage until heated through, about 1 minute.

  • Stir in Yaki-Soba and soy sauce mixture until well combined, about 2 minutes.
  • Serve immediately.

Notes
*Yaki-Soba is ramen-style noodles and can be found in the refrigerated aisle of your local grocery store. My local Ralphs didn't have it but Vons did. The Yaki-Soba noodles I found came in a package with 3 (5.6 oz) packages. 
Other than finding the right noodles, this recipe is a piece of cake. It tasted great by itself but I'm going to pair it with beef and broccoli next time.


Wednesday, October 8, 2014

Taco Bowls

My husband and I tried to go on a fiscal fast for a month. We tried to see if we could live off of our food storage for a month. First of all, we had so much food in our cupboards we really needed to clean it out. Also, it was a good challenge to see if we could do it. We agreed that the only thing we would buy would be milk. If you know my husband, he can't live without his cereal. The day before we began, I went to the store and got a ton of fruits, vegetables and eggs. We ate the fruit right away but surprisingly the veggies lasted a long time. Some of the veggies I froze but we had veggies up until the last day of the month. It was pretty incredible. On the last day of our fiscal fast my husband and I agreed that we ate really well and that we could probably do it another month.

I should probably get the extra large tortillas for how much stuff I put in them.


One of the meals that was a go to when I couldn't think of anything to make was taco bowls. I bought these taco tins from Marshall's I think. They are really inexpensive. I think they were $5 for a set of 4 bowls. Anyway, I really like them. You can put olive oil on the tortilla and sprinkle it with chili pepper or garlic salt, or whatever seasoning you want. I usually just spray the tins with Pam and put the tortillas in without seasoning them. It's up to you.

Turn the oven to 450 degrees and put the tortillas in the oven for about 10  minutes. Check on the tortillas and take them out when the edges are beginning to brown.

You do not have to have tortillas to make this!!! By the end of our fiscal fast we were not putting our taco bowl in a tortilla shell but rather a cereal bowl.

Once you have your bowl, put whatever you would like in it. This is usually how I layer it.

cooked white rice
black beans


cheese (it melts on the beans and the rice)
lettuce
tomatoes
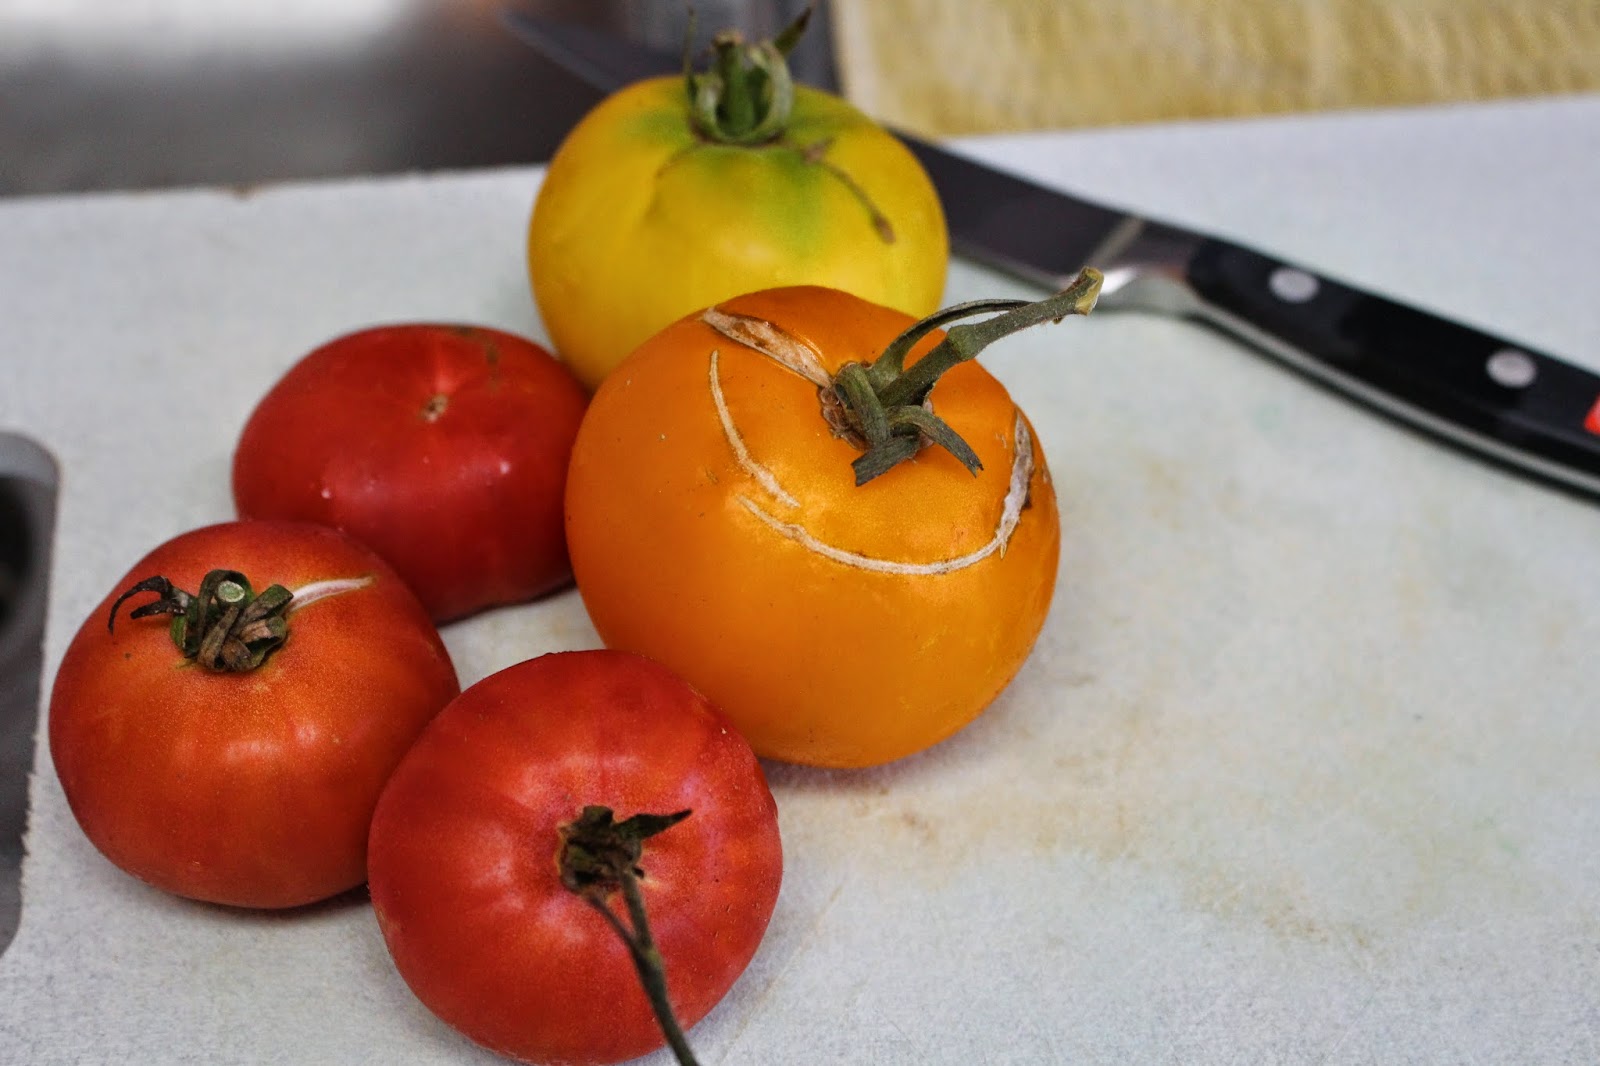
Doesn't get much better than home grown tomatoes right?
avocados
homemade buttermilk ranch (at the end of our fast we used a couple different dressings and they were all really good)
Tabasco


Let me know what toppings you put on your taco bowl.

Monday, September 22, 2014

Jackson's First Birthday


My baby turned one! I can hardly believe it. He is getting so big! Actually he's not that big according to the charts, but he sure is big to  me! Our wedding anniversary happens to be on the same day as our little guys birthday and for the second year in a row, we haven't done much to celebrate. But, we did have a big party for Jackson so I guess that's celebration enough. We had lots of friends come and support. It was perfect. Luckily the weather cooled off just in time because we had been having 97 degree days here with no air conditioning. Let me tell you, our apartment was hot! It ended up being a little bit overcast for the party so we were able to leave the back door open so that people could sit out on the deck.


 I made Jackson's "Birthday Suit" onesie. It was pretty simple. I ironed on the words "Birthday Suit." Then I sewed a little bow tie with Velcro on the back and stuck it on.


I have been wanting to make a tiered cake for a while. Mostly because I just wanted to see if I could do it. So, I decided Jackson's birthday would be the perfect time. My cake does look like a Charlie Brown cake. I am well aware of that. I am almost embarrassed to put up a picture of it, but we all have to start somewhere right? I did it, it may be leaning sideways, but I did it. The cake itself tasted yummy though so don't judge it by its looks.


 Here is Jackson's little smash cake. I put some white star sprinkles on it to give it a little decoration.


The smash cake part was so much fun, even though it was a pain to clean up. He somehow flung frosting all over the kitchen. But he sure did look cute!


Here is our family picture. Jackson was trying to touch me with his frosting fingers and he succeeded.
I had blue frosting all over the side of my shirt.


 Here is Jackson getting cleaned up by dad in the kitchen sink.
Yes, he's trying to grab my camera lens cap with his frosting fingers.

Jackson also officially started walking on his actual birthday. He is a rock star!


I used a recipe from Baking Vintage. I knew I wanted a white cake with cream cheese frosting and when I came across this buttermilk recipe, I thought I would try it. Don't let "folding in the egg whites" instruction scare you. It was really simple.

Ingredients:
1 cup unsalted butter, softened
2 cups granulated sugar
3 cups cake flour
1 teaspoon baking soda
½ teaspoon salt
1 teaspoon cream of tartar
1 cup buttermilk
1 teaspoon vanilla
6 egg whites

Directions:
Preheat oven to 350˚F. Line two 8-inch cake pans with parchment paper, then grease with unsalted butter.

In the bowl of an electric mixer, cream butter and sugar until light and fluffy, about 4 minutes. In a medium bowl, whisk together cake flour, baking soda, salt and cream of tartar to remove any lumps. In a liquid measuring cup, combine buttermilk and vanilla. With the mixture on a low speed, alternate adding the flour mixture with the buttermilk. Beat the batter until smooth.

In a clean separate mixing bowl, beat egg whites until stiff peaks form. Working swiftly, fold the stiff egg whites into the cake bake in three additions. Pour into the buttered cake pans.

Bake for 30-40 minutes or until a cake tester inserted into the middle of the cakes comes out clean. Allow to cool in the pans for one hour, remove from pan and allow to cool fully before frosting with the icing of your choice.

Makes 2 8-inch round cakes

With a double batch I made,

two-8inch cakes,
two 6-inch cakes and
two-4 inch cakes

One of the 6-inch cakes I didn't use and one of the 4-inch cakes I used to make Jackson's smash cake with.

I used a cream cheese frosting recipe from Dessert Now, Dinner Later

Ingredients:
 8 oz cream cheese, room temperature
1/2 cup (1 stick) unsalted butter, room temperature
1 cup powdered sugar
1 tsp pure vanilla extract

Directions:
Place cream cheese in a mixing bowl, beat until smooth.
Gradually add the butter 2 tbsp at a time and continue beating until smooth and well blended
Add powdered sugar and vanilla. Using a hand mixer, mix until combined.


Wednesday, September 10, 2014

Scones with Buttermilk Syrup


I try to make every Friday night date night. Rarely do we actually go out on a date but I still try to find small ways to make it still feel like it's a date. Sometimes we walk to get ice cream before putting the baby to bed. Sometimes I'll pick up a Redbox to watch. And other times, Tyrone and I lay out pretty much all the blankets we have on the living room floor and we watch The Office all night. We call this concoction of piled blankets, Mega Bed. We are growing kind of fond of it. It's becoming the new weekend tradition.

Anyway, going out on an actual date on Friday night is hard because Tyrone is so exhausted from the week. He tries to stay up but he usually ends up crashing early. This past Friday I thought I would do something special for date night and make scones with homemade buttermilk syrup.

By the time the dough had risen Tyrone was dead asleep on the couch. I ate hot scones with buttermilk syrup all by myself and I had no shame eating seconds. 

I got the recipe for the scones from Make-it-do

Ingredients:
1 cup warm water
1 cup warm milk
1 Tbsp. dry active yeast
3 Tbsp. granulated sugar
1/4 cup melted butter, cooled
1 Tbsp. salt
5 – 6 cups bread flour
Vegetable oil for deep frying


Directions: 

Combine warm water and warm milk.  Stir in the sugar.  Add dry active yeast and stir lightly.  Allow yeast to activate, about 10 minutes.  In a stand mixer, fitted with a bread hook, add milk mixture and melted cooled butter.  Add the salt.  Start the mixer and add the flour one cup at a time until the dough pulls away from the sides of the bowl.  Dough should be slightly sticky but workable.  Cover the dough in the bowl with a towel.  Set in a warm place and allow raise until double.
Pour your oil in a large pan (with sides deep enough to fully immerse the scones) or a deep fryer and heat slowly over medium to medium high heat.  While the oil is heating, roll the dough out onto the counter, without flour, into a large rectangle about 1/2 inch thick. I have tiled counter tops so I sprayed a large cutting board with Pam and rolled the dough out on there.  You may choose to butter the counter lightly.  Using a pizza cutter, cut into squares or triangles.
Heat oil to between 350 – 400 degrees and cook scones until golden brown. It is important that the oil is hot enough. The first couple I made the oil wasn't quite hot enough and it ends up taking longer to cook meanwhile soaking up the oil. They come out soggy. I tossed those ones out. Serve immediately. They taste the best when hot!


I put the scones on a paper towel to soak up a little bit of the oil before I ate them.
I got the buttermilk syrup recipe from Banner boutique

Buttermilk Syrup

Ingredients:
1 cup sugar 
1stick butter 
1/2 cup buttermilk 
2 tbs light corn syrup

Bring these 4 ingredients to a slow boil for 4-5 minutes then take the pan off the heat and add in 1 teaspoon vanilla and 1/4 teaspoon baking soda
I  made the syrup at the last minute because it is so easy and quick.

I don't think I've ever had homemade buttermilk syrup before and it is dang delicious!! 4 ingredients all mixed together will change your life. Anything you topped with syrup will forever be changed. Pancakes, waffles, French toast will now and forever be topped with this delicious buttermilk syrup. 

Tuesday, September 2, 2014

M&M Chocolate Chip Cookies

These cookies don't need much of a description. All you really need to know is that they are delicious. I've never made M&M cookies before and I used a recipe which called for vanilla pudding so I wasn't sure how they were going to turn out. But, they were amazing. I made them when my husband was out of town which was a bad idea. I ate way too many by myself and I had no one else in the house to blame it on. I did give some away which makes me feel a little better but I think I'm going to make these again soon. I got the recipe from Picky Palate.


Ingredients:
  • 1 stick/1/2 cup unsalted butter, softened
  • 1/2 cup granulated sugar
  • 1/2 cup packed light brown sugar
  • 1 large egg
  • 1/2 teaspoon pure vanilla extract
  • 1-1/2 cups all purpose flour
  • 3 tablespoons instant vanilla pudding mix
  • 1/2 teaspoon baking soda
  • 1/2 teaspoon kosher salt
  • 3/4 cup mini chocolate chips- I used regular
  • 1 or 1-1/2 cups mini M&M's

Directions:
  1. Preheat oven to 350 degrees F.
  2. In a large mixing bowl cream your butter and sugars until well combined. Add your egg and vanilla mixing to combine. Add your flour, pudding mix, baking soda and salt, stirring to combine. Add chips and M&M’s stirring to combine.


 3. With a medium cookie scoop, place dough 1 inch apart from each other. Bake for 10-12 minutes until cooked through. Let cool on cookie sheet for 10 minutes before transferring to cooling rack. Enjoy!
I ate one...


Makes 2 dozen cookies